.png)
Industry Partner Case Study
How to build a new industry partnership case study.

Step 1: Gather assets from students
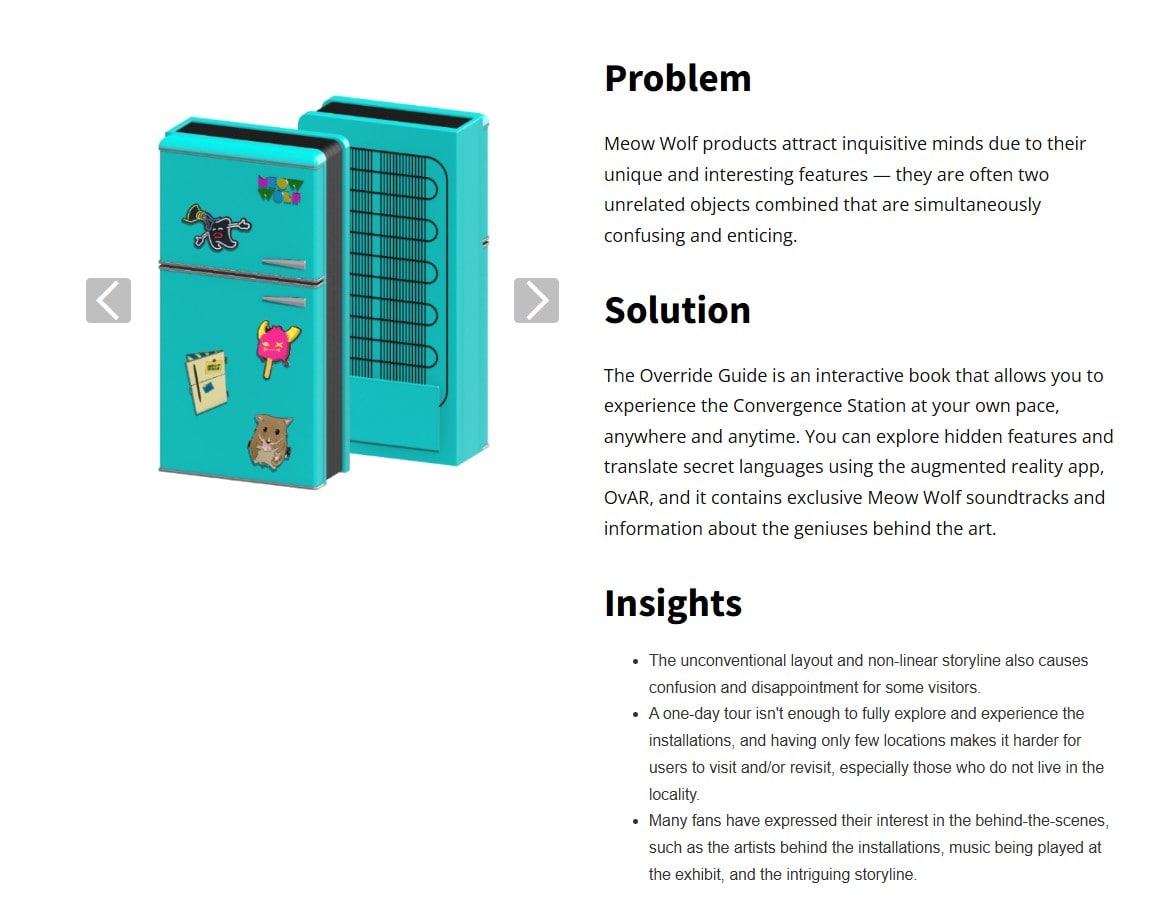
The first step is to gather the project assets from the students. This includes the copy for the Problem, Insights, and Solutions, as well as accompanying photos of the final design deliverable. Work with faculty to gather the data.
Step 2: Add to the "Clients" CMS
The Industry Partnership case studies are created using these two CMS collections:
"1-IP-Clients" & "2-IP-Projects".

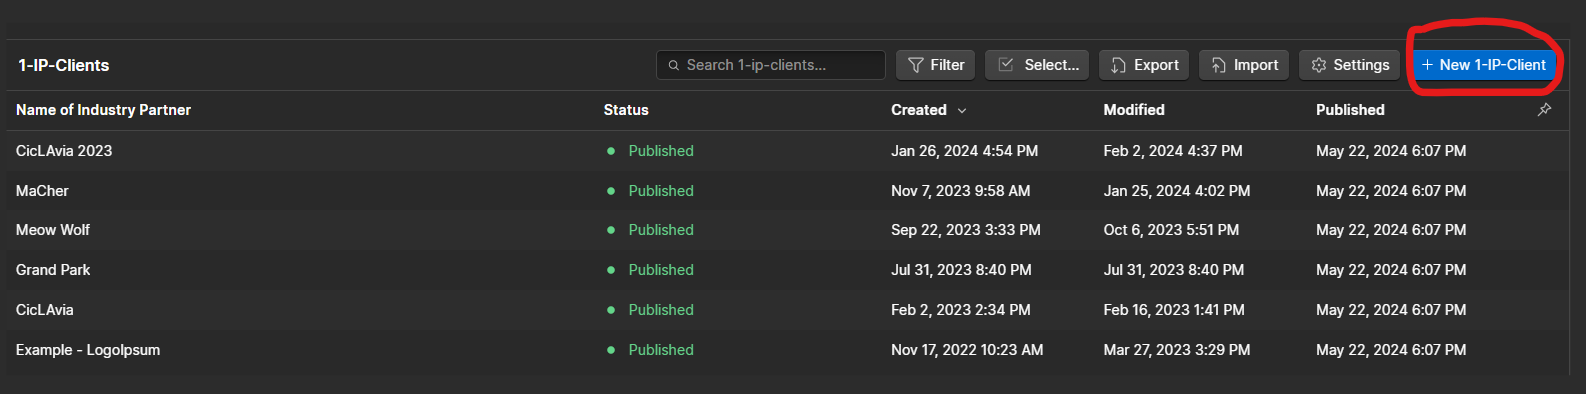
First start by creating a new item in the 1-IP-Clients CMS.
Fill this out with all of the information, refer to the client website to gather resources such as the logo and brand color.
This is the project hero image:
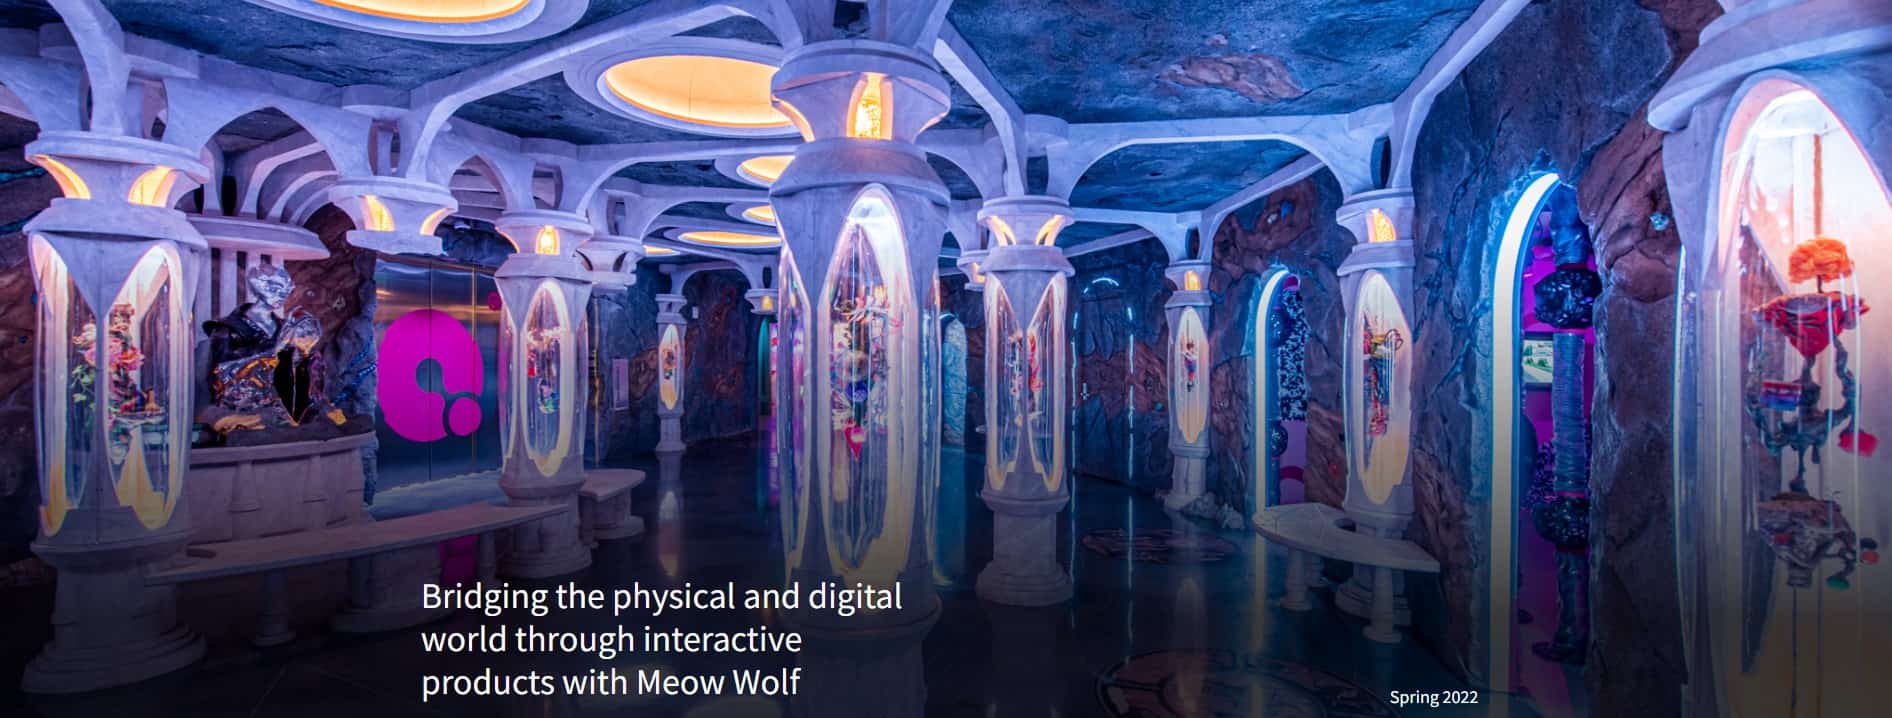
This is the "Catchy line over hero image"

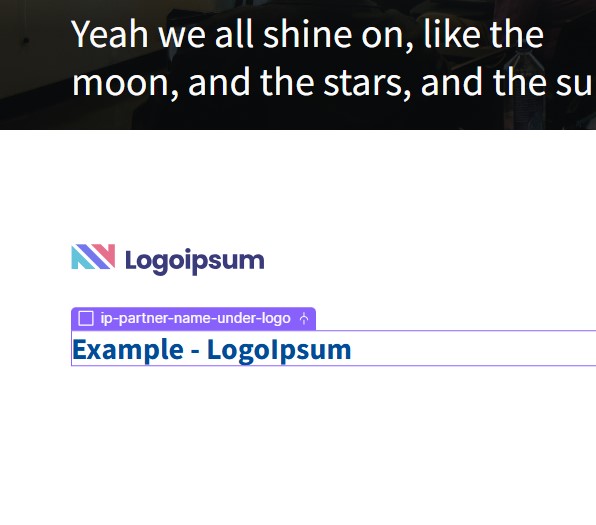
The toggle button "Show partner name under logo?" will toggle the visibility of a text element with the clients name. See below.
You can reference the existing projects to better understand what each input field is responsible for.
Step 3: Add to the "Projects" CMS
Next, you will want to create the specific projects under 2-IP-Projects.

Under the "Client Reference" drop down, make sure to select the client that you just created in Step 2.

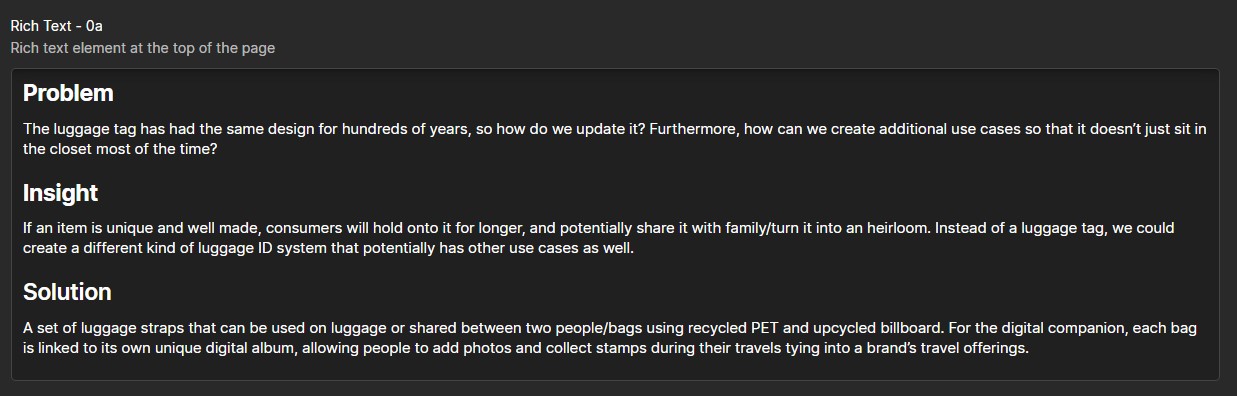
Add the content to the related fields. Once you reach the "Rich Text - 0a" section, this is where a large amount of flexibility comes into play. If you want to keep it simple add the Problem, Insight, and Solution to this Rich Text section using an H2 tag for headers.
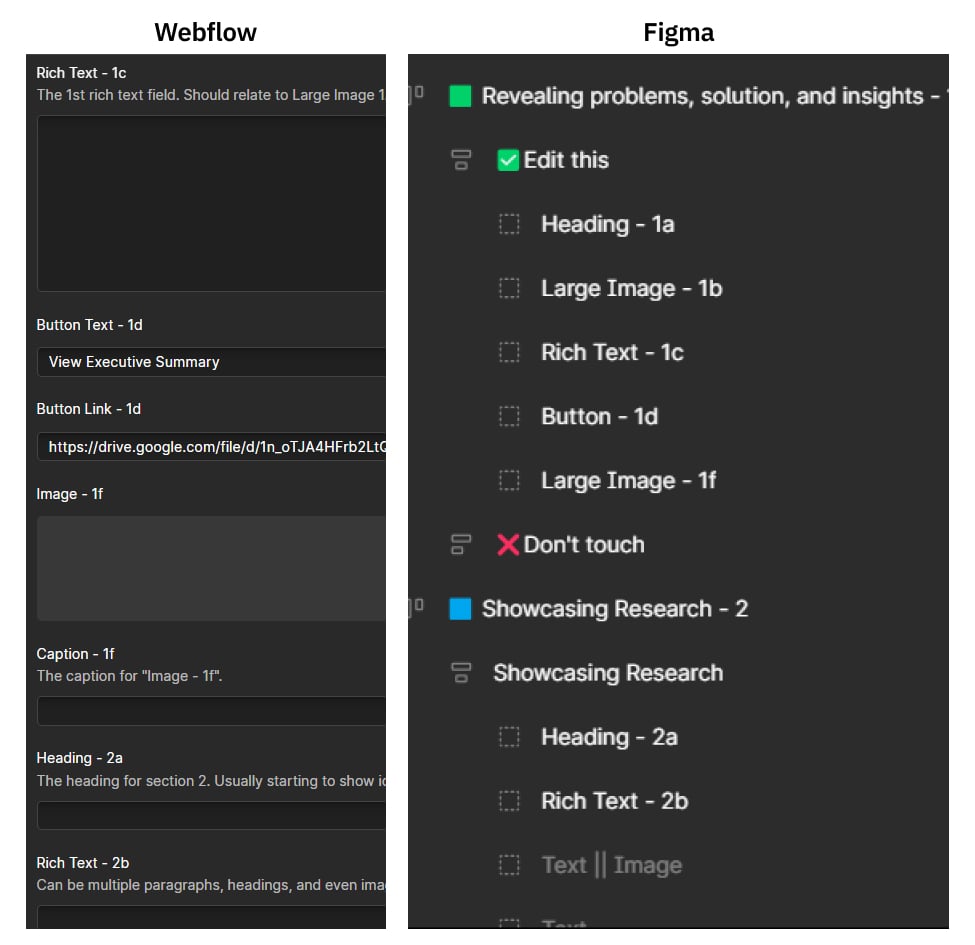
If you want to use the full flexibility of the system, you can use this Figma file as a reference for the layout and choosing which sections to use. The names in Webflow align with the names in the Figma file to understand the layout better.
You can duplicate the Figma file, hide or show sections as desired, and create a custom layout by uploading the content into those relevant sections.
Step 4: Add the "Projects" to the "Clients" CMS
Now that you have created the "Client" collection and "Projects" collection, you need to link them together.
Open the "1-IP-Clients" collection, select your appropriate client, and scroll down to the bottom. Add the projects you just created under the "Select associated projects" section.

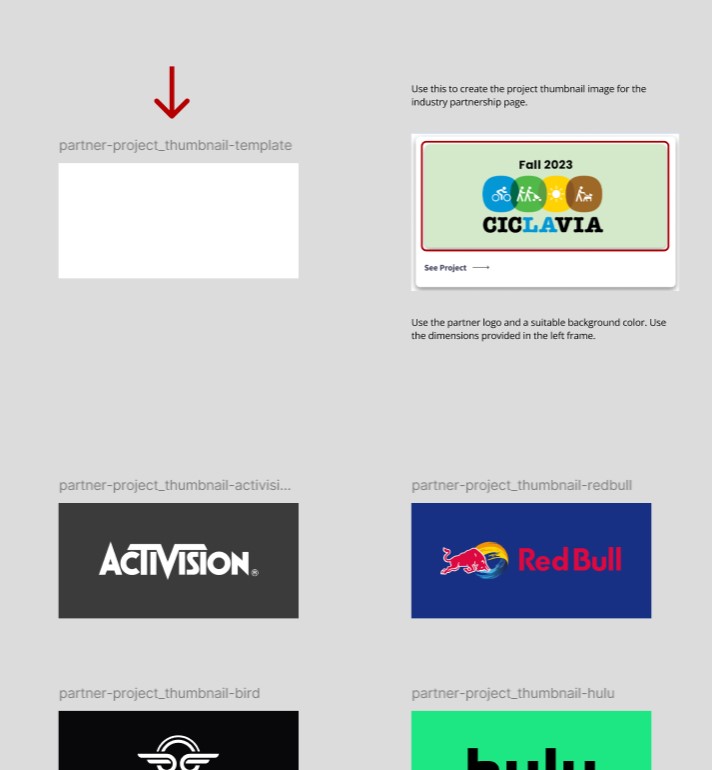
Step 5: Set thumbnail
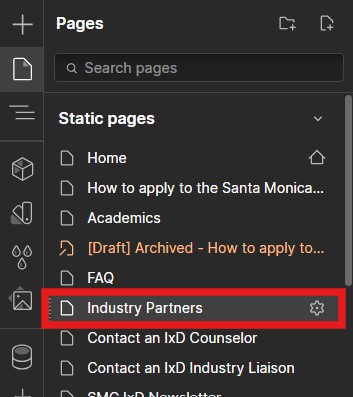
Navigate to the Industry Partners page.
Duplicate the last thumbnail grid item "partner-project-card" using CTRL + D (Windows) or Command + D (Mac).
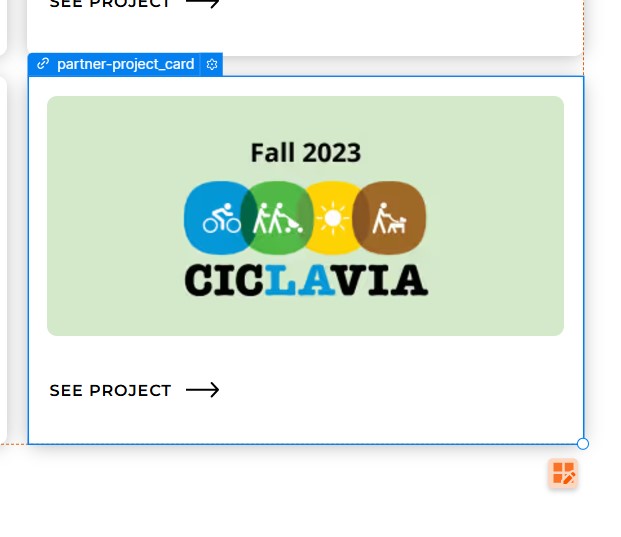
In the Figma UI Template, copy the thumbnail template and add the partner's logo and an appropriate background color. Reference the partner's style guide if they have one to choose an appropriate color.
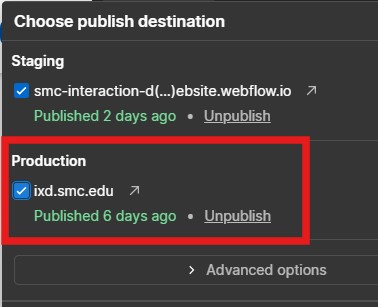
Step 6: Publish & set URL (Not done yet!)
Now you will want to publish the project to the production site.
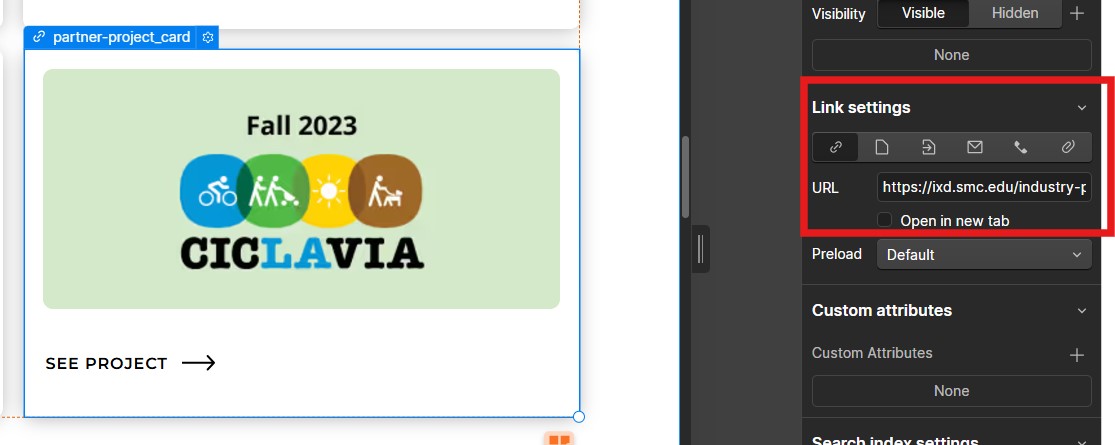
Then you need to navigate to the Client collection page on the live site. Use the video below for reference.

Copy the URL and paste it in the "partner-project-card" on the Industry Partner page.
Step 7: Publish (Done!)
Now that everything is properly connected, you can publish it and make sure everything is working on the live IxD site.